954-715-4995

Monthly Archives: November 2024

Time to Replace Your AC Systems

Warning Signs That It’s Time to Replace Your AC Systems

Florida’s hot, humid climate demands a reliable air conditioning system to keep homes cool and comfortable. Over time, even the best systems wear down. Knowing when to replace your AC can save you from unexpected breakdowns and rising costs. In this article, we’ll explore common warning signs, how long AC units and HVAC systems last in Florida, and key factors to consider when deciding to upgrade.

How Long Do AC Units Last in Florida?

The average lifespan of an AC system is typically 10-15 years. However, in Florida’s harsh environment—where AC systems endure nearly constant operation—the lifespan often falls to 8-12 years. High humidity and salt air in coastal areas can accelerate wear, reducing system efficiency over time.

Proper maintenance, such as regular filter changes and tune-ups, can help extend an AC’s life, but eventually, replacement becomes the more cost-effective option.

6 Warning Signs It’s Time to Replace Your AC System

1. Frequent Repairs

When repair costs start adding up, it’s a clear sign your AC system is nearing the end of its life. Use the $5,000 rule: multiply the repair cost by the system’s age. If the total exceeds $5,000, replacement is the smarter investment.

Frequent breakdowns disrupt comfort and lead to unexpected expenses. Investing in a new, energy-efficient system can provide peace of mind and long-term savings.

2. Rising Energy Bills

A sudden spike in your utility bills, despite consistent AC usage, could signal declining efficiency. Older systems often work harder to maintain comfortable temperatures, wasting energy in the process.

Switching to a high-SEER-rated system designed for Florida’s climate can drastically reduce cooling costs and improve overall performance.

3. Inconsistent Temperatures

Hot and cold spots in your home are often caused by an aging or failing AC system. Issues with ductwork, declining performance, or outdated technology might prevent your unit from distributing cool air evenly.

If troubleshooting common issues like filter clogs or blocked vents doesn’t solve the problem, it may be time to upgrade to a modern system with enhanced air circulation.

4. Excessive Humidity or Poor Air Quality

Florida’s climate makes effective humidity control critical. If your AC struggles to dehumidify your home, it can lead to higher indoor humidity levels, musty odors, and even mold growth.

Diminished air quality and persistent humidity are clear signs that your system can no longer keep up with demand.

5. Strange Noises or Odors

Unusual noises like grinding, banging, or screeching often indicate mechanical issues, while burning smells can suggest electrical problems. Ignoring these warning signs could result in costly damage or unsafe conditions.

Replacing a failing system prevents further disruptions and ensures your home remains safe and comfortable.

6. Expired Warranty

Most AC systems come with warranties lasting 5-10 years. Once the warranty expires, repair costs can escalate. Instead of spending on major repairs for an aging unit, consider upgrading to a new system with an extended warranty and improved efficiency.

When to Replace Heating and Air Conditioning Together

Replace air Conditioning

While Florida residents rarely use their heating systems, replacing both components at the same time can provide long-term benefits:

  • Energy Efficiency: Newer systems work seamlessly together to optimize energy use.
  • Cost Savings: Bundling replacements often reduces installation costs.
  • Performance Improvements: Modern systems offer better air circulation and more consistent temperatures.

Why Florida AC Systems Require Special Attention

  • Salt Air and Coastal Corrosion: Homes near the coast face unique challenges, as salt air accelerates the corrosion of AC components. Routine maintenance and anti-corrosion treatments can help, but these systems often require replacement sooner than inland units.
  • Year-Round Use: Unlike in cooler climates, Florida residents rely on their AC systems throughout the year. This constant operation shortens the HVAC lifespan, making proactive replacement essential.

Steps to Take When Replacing Your AC System

  1. Assess Your Home’s Cooling Needs: Evaluate your home’s size, layout, and insulation to determine the right system capacity. An improperly sized unit can lead to inefficiencies and higher energy bills.
  2. Choose Energy-Efficient Features: Look for systems with high SEER ratings, smart thermostats, and advanced humidity control. These features enhance comfort while reducing long-term energy costs.
  3. Work with Trusted Professionals: A licensed HVAC technician can guide you through the selection process, ensuring your new system meets Florida’s energy efficiency standards and your unique needs.

Extending the Life of Your New AC System

Once you’ve replaced your AC system, proper care can maximize its lifespan:

  • Schedule Regular Maintenance: Annual tune-ups help prevent major issues and maintain peak efficiency.
  • Change Filters Frequently: Replace filters every 1-3 months to ensure clean air circulation.
  • Monitor Performance: Keep an eye on energy bills and indoor comfort to catch potential problems early.

Partner with Natal Air Conditioning for Reliable AC Solutions

At Natal Air Conditioning, we specialize in keeping Florida homes cool and comfortable. From diagnosing failing systems to installing state-of-the-art replacements, our team delivers top-notch service tailored to your needs. Contact us today to schedule a free consultation and ensure your home stays comfortable year-round.

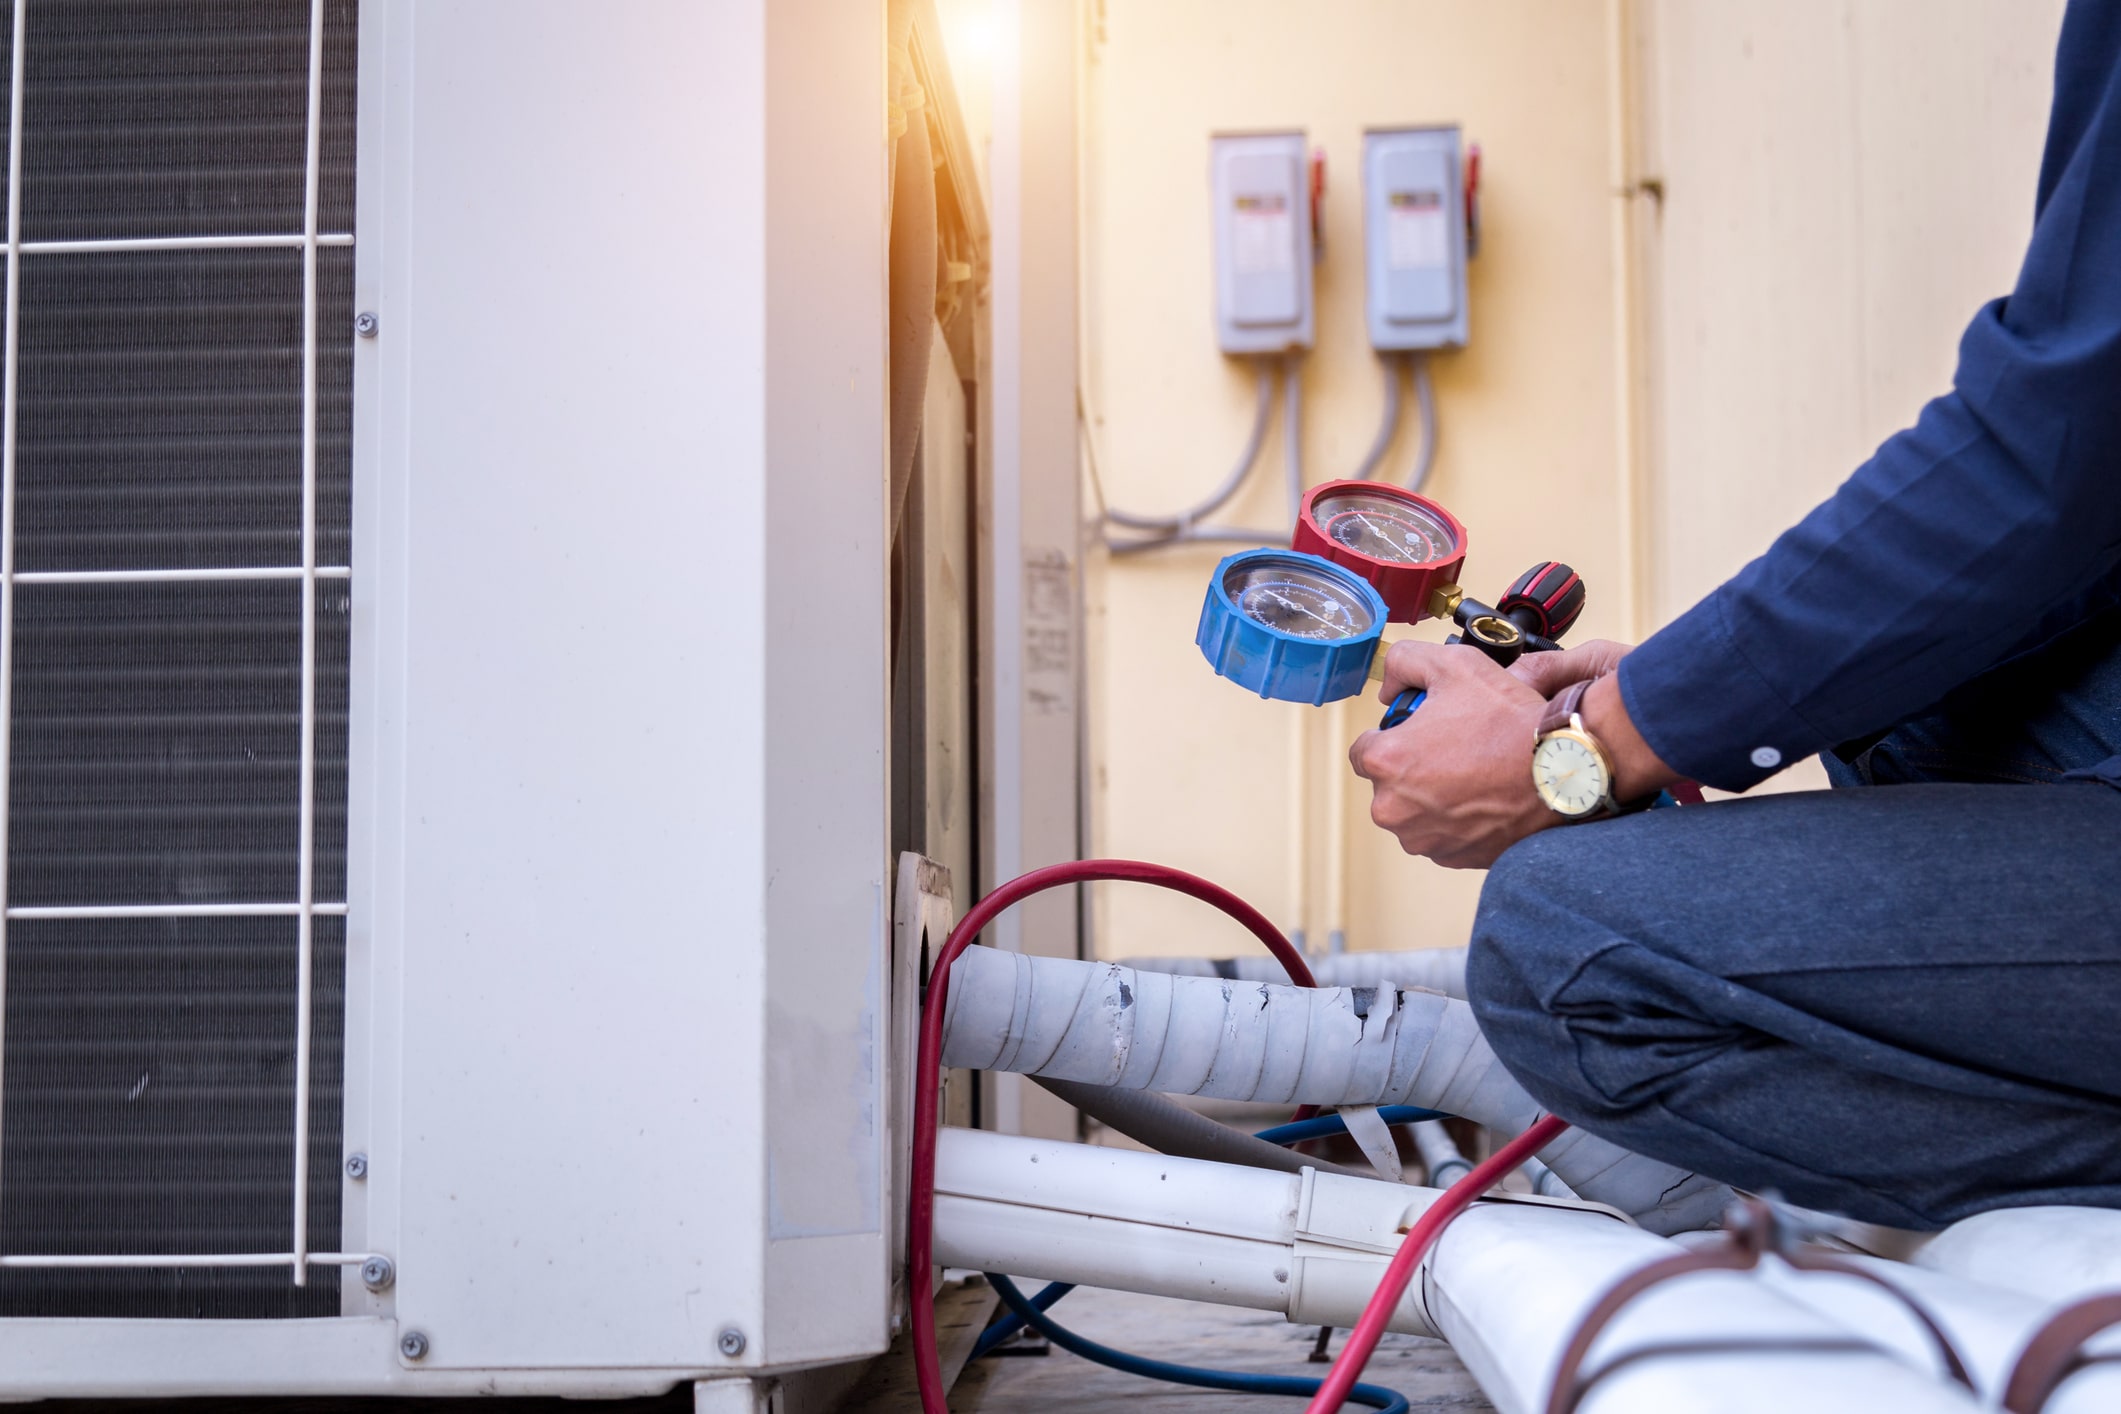
AC in A Two-Story House

How To Set AC in A Two-Story House For Maximum Comfort in Florida?

Living in a two-story house in Florida brings unique cooling challenges, especially during the state’s hot and humid summers. Maintaining comfort while keeping energy costs low requires an understanding of how to set your air conditioning system effectively. This guide provides actionable tips and insights on optimizing your AC settings, balancing temperatures between floors, and maximizing efficiency in a multi-story home.

Why Heat Imbalance Is Common in Two-Story Homes

In Florida, where temperatures frequently soar, it’s crucial to understand why your upstairs tends to feel warmer than downstairs:

  • Heat Rises: Warm air naturally moves upward, leaving the top floor feeling hotter.
  • Sunlight Exposure: Upper floors often receive more direct sunlight, especially in homes with large windows or inadequate insulation.
  • Cooling Challenges: Standard AC systems are not always designed to address the specific needs of multi-story homes, leading to temperature disparities.

Understanding these factors is the first step to tackling the challenge of maintaining comfort in your two-story home.

Should the Upstairs Thermostat Be Higher or Lower Than Downstairs?

A common question among Florida homeowners is: Should the upstairs thermostat be higher or lower than downstairs? The answer depends on the season and your specific comfort needs. However, as a rule of thumb:

  • Summer Settings: Keep the upstairs thermostat at your desired temperature and set the downstairs thermostat 2–3 degrees lower. This compensates for the natural heat rise and ensures balanced cooling.
  • Why This Works: Cooler air from downstairs will rise and help equalize temperatures throughout your home.

Optimal Summer Thermostat Setting for a Two-Story House in Florida

Finding the right thermostat settings is key to staying comfortable without overworking your AC. Here are some recommendations tailored to Florida’s climate:

  1. Energy-Efficient Temperatures: The U.S. Department of Energy suggests setting your thermostat to 78°F when at home and higher when away.
  2. Upstairs vs. Downstairs Settings: In summer, set your upstairs thermostat to 78°F and your downstairs to 76°F.
  3. Nighttime Settings: Lower the temperature slightly for better sleep, particularly on the upper floor where heat tends to linger.

How to Set Upstairs and Downstairs Thermostats in Summer

Here’s a step-by-step guide to optimizing your thermostat settings:

  1. Set a Baseline Temperature: Choose a comfortable target temperature for the upper floor.
  2. Adjust the Lower Floor: Reduce the downstairs thermostat setting by 2–3 degrees to account for heat rising.
  3. Monitor Performance: Use a thermometer to check if the upstairs and downstairs temperatures are balanced. Adjust settings as needed.
  4. Utilize Fan Assistance: Ceiling fans can enhance circulation, making the temperature feel cooler without adjusting the thermostat.

AC Settings for Two-Story Houses: Tips for Efficiency

Two-Story Houses

Balancing comfort and energy savings requires strategic AC usage. Follow these tips to improve cooling efficiency:

1. Maximize Airflow

  • Open interior doors and vents to improve circulation.
  • Use box or ceiling fans to distribute air evenly.

2. Adjust Vents and Dampers

  • Direct more airflow to the upstairs by partially closing the downstairs vents.
  • Check for duct blockages that could restrict airflow.

3. Maintain Your System

Zoning Systems: The Key to Perfect Comfort in Multi-Story Homes

For Florida homeowners, zoning systems are an excellent investment for achieving precise temperature control:

What Is an HVAC Zoning System?

  • Zoning systems divide your home into separate areas, allowing you to control each zone independently.
  • This setup minimizes energy waste and enhances comfort for two-story homes.

Benefits of Zoning Systems

  1. Customizable Comfort: Adjust temperatures in each zone based on your needs.
  2. Energy Savings: Avoid overcooling unoccupied spaces.
  3. Reduced Wear and Tear: Your AC system operates more efficiently, prolonging its lifespan.

Smart Thermostats: A Modern Solution for Two-Story Homes

Smart thermostats can take your cooling strategy to the next level by automating and optimizing your AC settings:

Advantages of Smart Thermostats

  • Program routines to match your schedule.
  • Monitor and adjust temperatures remotely via smartphone apps.
  • Gain insights into energy usage to identify areas for improvement.

How They Work for Multi-Story Homes

  • Sync upstairs and downstairs thermostats to ensure consistent adjustments.
  • Use sensors to detect temperature variations and make real-time changes.

Additional Tips for Cooling Two-Story Homes in Florida

1. Upgrade Your Insulation

  • Poor attic insulation allows heat to seep into your home. Upgrade to reflective or spray foam insulation to reduce heat transfer.

2. Install Window Treatments

  • Use blackout curtains or solar shades on upstairs windows to block heat from the sun.

3. Seal Air Leaks

  • Check for and seal gaps around windows, doors, and ductwork to prevent cool air from escaping.

4. Optimize Outdoor Unit Placement

  • Ensure your outdoor AC unit is free from obstructions like overgrown plants or debris.

Common Mistakes to Avoid

To get the most out of your AC system, steer clear of these common pitfalls:

  1. Setting Thermostats Too Low: Overcooling can strain your system and increase energy costs without significantly improving comfort.
  2. Ignoring Regular Maintenance: Dirty filters and clogged ducts reduce efficiency and lead to uneven cooling.
  3. Closing Vents Completely: While it may seem like a way to redirect airflow, closed vents can create pressure imbalances and reduce overall efficiency.

Why Regular Maintenance Is Essential

Scheduled maintenance keeps your system running efficiently, which is especially critical in Florida’s demanding climate. Services to prioritize include:

  • Duct cleaning to ensure unobstructed airflow.
  • Refrigerant level checks to maintain cooling power.
  • Thermostat calibration for accurate temperature control.

Natal Air Conditioning offers expert maintenance services tailored to the unique needs of two-story homes in Florida.

When to Call a Professional

If you’re still struggling with uneven cooling or high energy bills, professional intervention may be necessary. Call an HVAC technician if you notice:

  • Persistent temperature imbalances between floors.
  • Reduced airflow or hot spots in certain rooms.
  • Unusually high energy bills despite setting your thermostat efficiently.

Call Natal Air Conditioning for Expert Cooling Solutions

Balancing temperatures in a two-story house in Florida can be challenging, but with the right thermostat settings, airflow strategies, and AC maintenance, you can achieve year-round comfort. Whether you’re using zoning systems, smart thermostats, or simple adjustments, optimizing your AC settings is the key to enjoying a cool and comfortable home.

For expert AC advice and services, contact Natal Air Conditioning—your trusted partner for efficient cooling solutions in Florida. Call today to schedule a consultation!

Replacing filter

Where is the Air Filter in My AC System?

Knowing where the air filter is in your AC or HVAC system is essential for maintaining clean air, improving energy efficiency, and extending the lifespan of your heating and cooling unit. Your air filter plays a crucial role in trapping dust, allergens, and other airborne particles, preventing them from circulating through your home and clogging your system. So, where is the air filter in my house? Depending on your AC or HVAC system type, the filter’s location can vary, but this guide will help you identify and access it easily.

Common HVAC and AC Filter Locations

The air filter’s placement depends on the type of system you have. Here are the most common HVAC filter locations and how to find them:

1. Behind the Return Air Grille

The return air grille is the large vent that pulls air into your AC system. You’ll typically find it on a wall, ceiling, or floor. To check, remove the grille cover by unscrewing it or pulling it open, and the filter should be just behind it.

2. Inside the Air Handler or Furnace

For systems with a furnace or air handler, the filter is often located in the blower compartment. Look for a slot near the fan or blower motor. This placement helps protect the internal components from dirt and debris.

3. Between the Return Duct and the Air Handler

Some systems have a filter installed between the return duct and the air handler. Locate the duct pulling air into the system and look for a slot or hinged cover where the filter slides in.

4. Inside Duct Openings

Older HVAC systems may have filters placed directly in the duct openings. These are often installed upstream of the air handler to keep them out of sight and trap debris before it reach the unit.

5. Hidden in Basements, Attics, or Closets

In homes with centralized HVAC systems, filters can sometimes be found in less accessible areas like basements, attics, or utility closets. Check these areas for a slot or removable panel near the system.

Why Knowing Your Air Filter Location Matters

Understanding your HVAC filter location isn’t just about convenience; it’s important in maintaining a healthy and efficient home environment. Here are three key reasons why locating and regularly replacing your air filter is essential:

1. Cleaner Air, Better Health

Your air filter traps allergens like pollen, dust, pet dander, and even smoke. A clean filter helps improve indoor air quality, making it especially important for allergy and asthma sufferers. Regular filter maintenance keeps your home’s air cleaner and healthier.

2. Improved Energy Efficiency

Dirty filters can restrict airflow, forcing your system to work harder and consume more energy to maintain your desired temperature. Replacing your filter ensures your AC system runs efficiently, lowering energy costs.

3. Prolonged System Lifespan

Clogged filters can cause strain on your system’s components, like the blower motor and coils, leading to overheating and potential breakdowns. Keeping the filter clean reduces wear and tear, helping your system last longer.

Where is the AC Filter Located in Different Systems?

  • Horizontal Units: Horizontal HVAC units, often located in attics or basements, have filters on the return side of the unit. The filter typically slides into a dedicated slot, making it easy to access and replace.
  • Vertical Units: In smaller homes with limited space, vertical units are common. These systems are typically found in basements or closets, with the filter located either above or below the unit in a sliding compartment.
  • Mini-Split and Ductless Systems: For mini-split or ductless systems, the air filter is inside the indoor unit. Open the front cover of the indoor air handler to find the filter. These filters are often reusable and need to be cleaned rather than replaced.
  • Packaged Systems: Packaged systems combine heating and cooling into one outdoor unit. The filter is usually located behind a removable panel on the exterior of the system.
  • Homes with Multiple Returns: Some homes have multiple return air grilles, each with its filter. These are typically located in various rooms and must all be maintained for the system to function efficiently.

How to Locate the Air Filter in Your House

Locating your air filter can feel like a scavenger hunt if you’re unfamiliar with your AC system. Follow these steps to find it quickly:

  • Identify the HVAC System Type: Determine whether you have a central air system, mini-split unit, or another type of HVAC setup.
  • Inspect the Return Grille: Start by checking large return vents on walls, ceilings, or floors. Remove the grille cover to see if the filter is behind it.
  • Check the Air Handler: Locate the air handler or furnace and inspect around the blower compartment for a filter slot.
  • Search Uncommon Areas: If you haven’t found it yet, check the attic, basement, or utility closet. Look for a hinged or sliding panel that houses the filter.
  • Consult the Manual: If you’re still unsure, refer to the system’s manual for filter location instructions.

What to Do If You Can’t Find Your Air Filter

If you’ve searched your home and still can’t locate the filter, here’s what to do:

  • Contact an HVAC Professional: A trained technician can identify your system’s layout, locate the filter, and demonstrate how to replace it.
  • Check for Multiple Filters: Some systems have multiple filters in different locations. Walk through your home and inspect all return air grilles.
  • Schedule a Maintenance Visit: Use the opportunity to have your system inspected and serviced while locating the filter. Contact Natal Air Conditioning for more information.

Why You Need to Replace Your Air Filter Regularly

Replacing your air filter regularly is crucial for maintaining system efficiency and indoor air quality. Here’s why:

  • Improved Air Quality: Trapping allergens and pollutants ensures cleaner air in your home.
  • Lower Energy Bills: A clean filter allows air to flow freely, reducing strain on your system.
  • Prevent Costly Repairs: Dirty filters can cause parts like the blower motor to overheat, leading to expensive repairs.

DIY Tips for Replacing Your Air Filter

Replacing an air filter is a simple task that most homeowners can do themselves. Follow these steps:

  • Turn Off the System: Shut off your AC system to ensure safety.
  • Locate the Filter: Use the tips above to find the filter in your system.
  • Check the Size: Note the dimensions printed on the side of the old filter.
  • Install the New Filter: Slide the new filter into place, ensuring the arrows match the airflow direction.
  • Turn the System Back On: Restart the system and check for smooth operation.

Advanced Filters and Their Impact on HVAC Systems

Not all air filters are created equal. Here’s a quick overview of advanced filter types:

  • Fiberglass Filters: Affordable but less effective at capturing small particles.
  • Pleated Filters: Better filtration for dust and allergens, ideal for most homes.
  • HEPA Filters: Capture 99.97% of particles, perfect for allergy sufferers but may require a compatible system.
  • Electrostatic Filters: Reusable and effective at capturing fine particles.

When to Call a Professional

Technician cleaning air conditioner filter

While most homeowners can handle basic filter maintenance, some situations require professional help:

  • Difficult-to-Access Filters: Filters in attics, crawl spaces, or complex duct systems may need professional assistance.
  • Persistent Airflow Issues: If replacing the filter doesn’t improve performance, call a technician.
  • Unclear Filter Placement: Let an expert locate the filter and provide guidance for future maintenance.

Take Control of Your Home’s Comfort with Proper Air Filter Maintenance

Knowing where is the air filter in my house is the first step toward improving indoor air quality and HVAC efficiency. Whether it’s behind a return grille, inside the air handler, or hidden in a duct, locating and maintaining your air filter ensures your system runs smoothly.

If you’re having trouble finding your filter or need professional HVAC maintenance, contact Natal Air Conditioning USA. Our experienced technicians will help you locate, replace, and maintain your air filters, keeping your system efficient and your home comfortable year-round.

Monthly Archives: November 2024